
HOW TO CONFIGURE AND MANAGE EMAILS

You can customize emails in the system. This powerful feature also allows you to set up your system email configuration details.
SETTING UP SYSTEM EMAIL CONFIGURATION DETAILS
Log in as a Master Administrator.
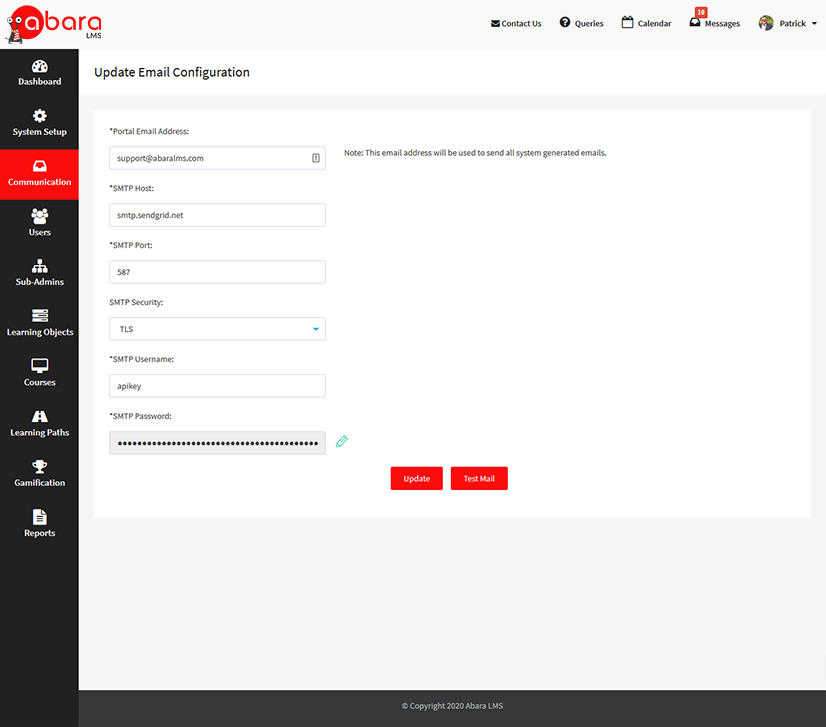
On the left menu pane, select Communication > Email Configuration.
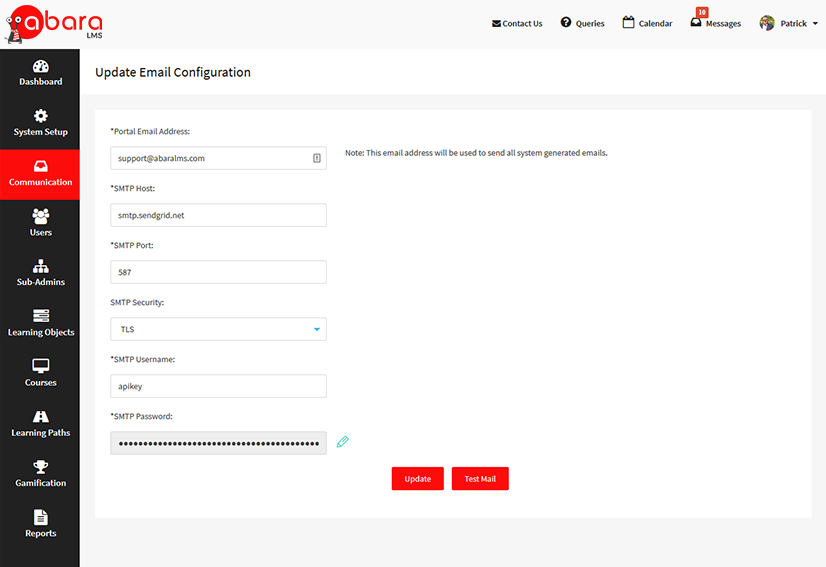
Fill the form with the email configuration details.
Click Update.
You can verify the updated configuration by clicking Test Mail. This functionality will send an automated email based on the registered settings so you can verify the mail delivery.
MANAGING NOTIFICATION TEMPLATES
The Manage Email Templates function allows Master Administrators to manage various built-in email templates.
Email templates contain text for automated emails that go out to various entities in the system. This helps administrators avoid sending them manually.
Log in as a Master Administrator.
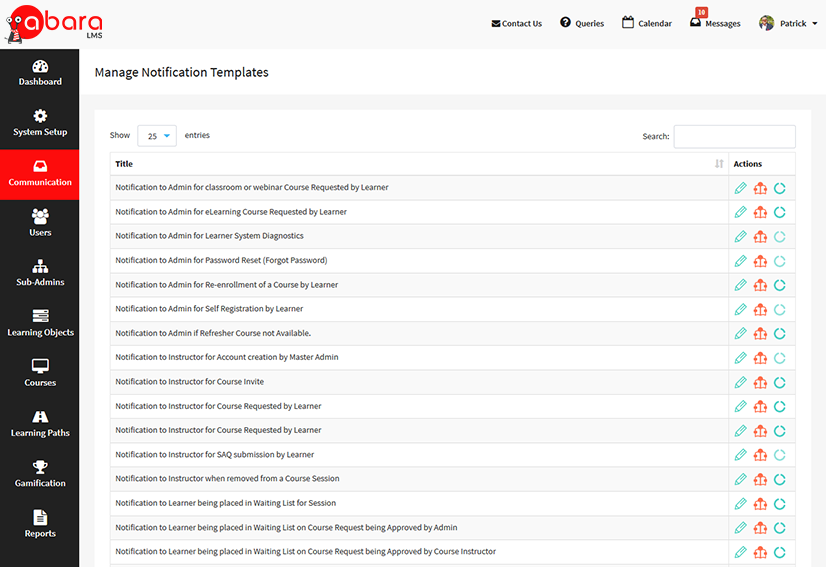
From the left menu pane, select Communication > Manage Notification Templates.
To edit or view a template, click the Edit and View icons.
Any required email template can be searched for by entering a matching string in the template title.
Abara can include course-specific custom text in system emails. This will give you the flexibility to include some additional text or information in the emails that get sent out for different courses. To enter this custom text, edit the relevant email template.


SENDING A NEW EMAIL TO SELECTED LEARNERS
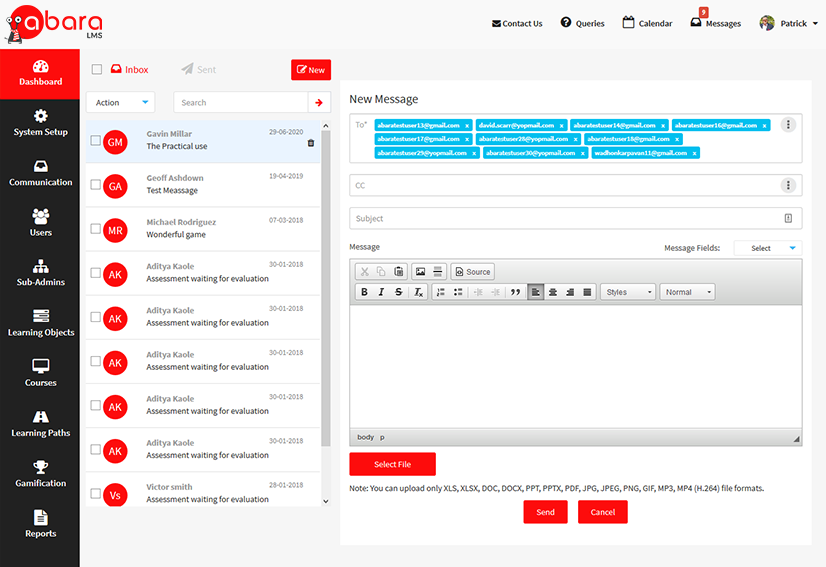
On the New Message screen, click New Message.
Under Recipients, click Learners.
Select learners from the list by selecting the relevant checkboxes.
Click Submit.
SENDING A NEW EMAIL TO SELECTED SUB-ADMINISTRATORS
On the New Message screen, click New Message.
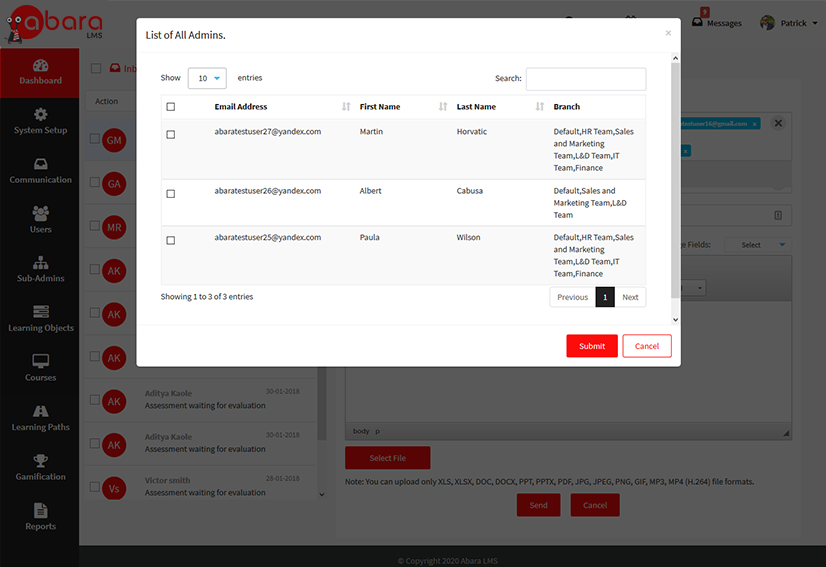
Under Recipients, click Administrators.
Select administrators from the list by selecting the relevant checkboxes.
Click Submit.


SENDING A NEW EMAIL TO SELECTED INSTRUCTORS
On the New Message screen, click New Message.
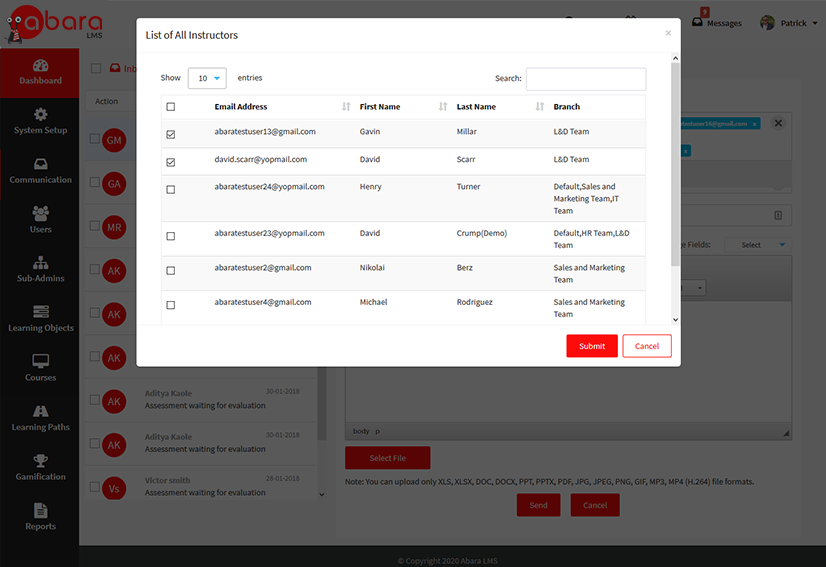
Under Recipients, click Instructors.
Select instructors from the list by selecting the relevant checkboxes.
Click Submit.
SENDING A NEW EMAIL TO SELECTED GROUPS
On the New Message screen, click New Message.
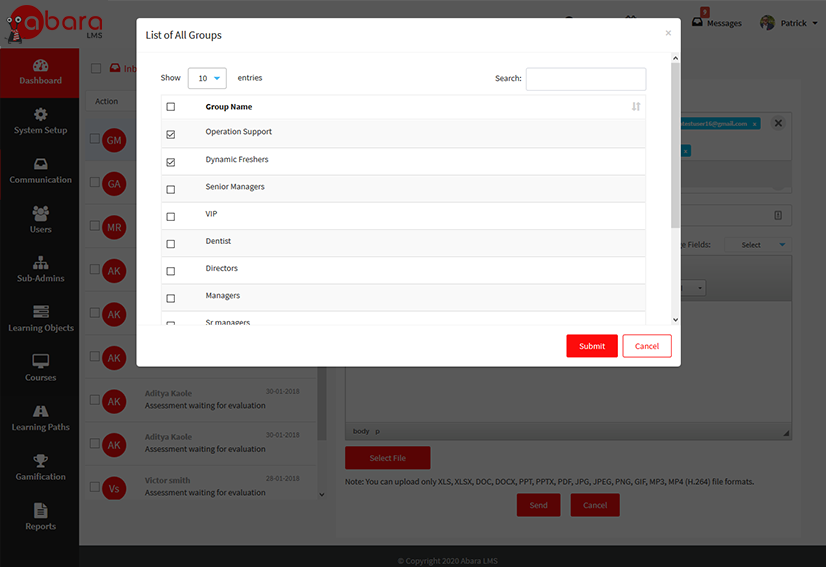
Under Recipients, click By Group.
Select groups from the list by selecting the relevant checkboxes.
Click Submit.


SENDING A NEW EMAIL FOR SELECTED COURSES
On the New Message screen, click New Message.
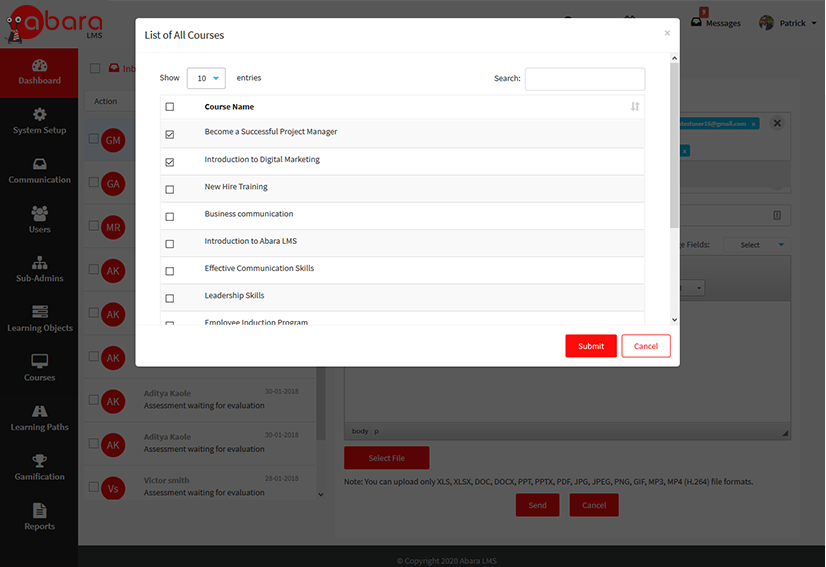
Under Recipients, click By Course.
Select courses from the list by selecting the relevant checkboxes.
Click Submit.